Yes, you can build a tablet computer yourself, but forget everything you know about building a desktop PC. There are no standardized tablet motherboards, cases, or connectors you can just snap together. A DIY tablet is really an electronics project: you pair a single-board computer like a Raspberry Pi with a touchscreen display, add a battery and power management board, 3D-print or buy a case to hold it all, and load a touch-friendly operating system. Expect to spend $150–$300 and a full weekend on it.
If you’re picturing a sleek iPad competitor, reset expectations now. What you’ll end up with is a chunky, charmingly homemade touchscreen computer — twice as thick as a store-bought tablet, with visible seams and battery life measured in hours, not days. But it will run real software, browse the web, and power your own projects. For makers, students, and anyone building a custom kiosk or smart-home dashboard, that’s more than enough. Note: the build is only half the project. Getting the software to behave like a proper tablet — auto-rotate, touch keyboard, sleep-on-close — is where the real work lives.
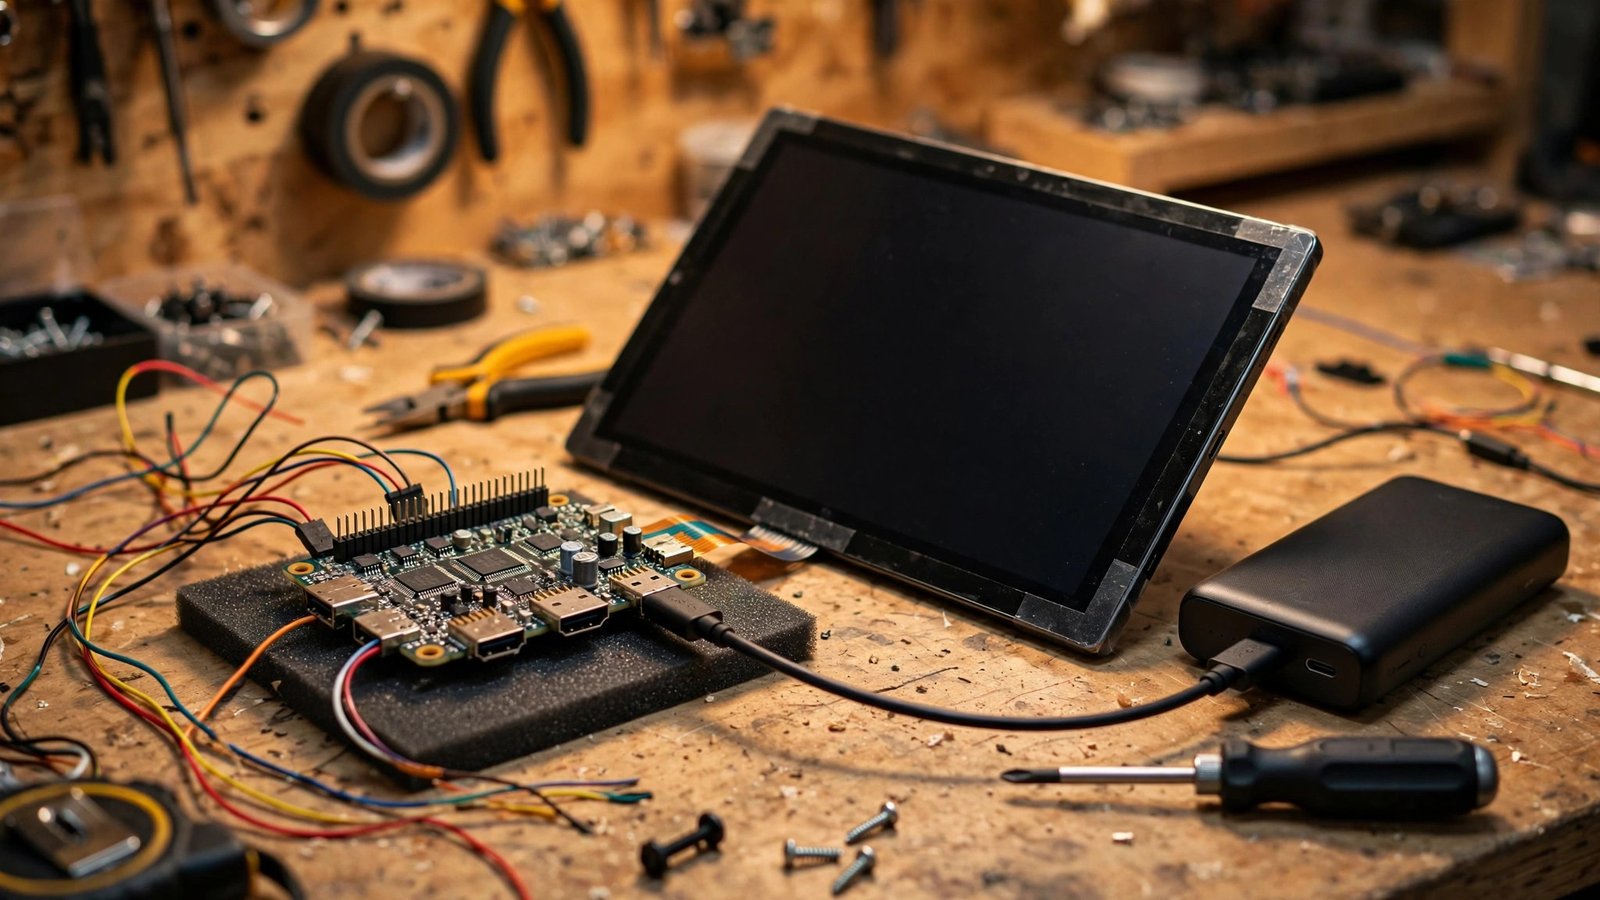
What You’ll Need: The Parts List
The heart of the build is a single-board computer (SBC). The Raspberry Pi 5 (8GB) is the obvious pick in 2026: it has enough muscle to run a desktop browser and 1080p video smoothly, and it has the biggest accessory ecosystem. Alternatives like the Orange Pi 5 or a used LattePanda work too, but you’ll find ten times more tutorials and ready-made drivers for the Pi.
For the display, grab an official Raspberry Pi 7-inch touchscreen or a third-party 10.1-inch HDMI touchscreen with USB touch. HDMI displays are simpler — one cable for video, one for touch input — and larger panels feel far more “tablet-like.” Look for a panel with capacitive (not resistive) touch; resistive screens need a stylus press and feel awful to use.
Then comes power. A tablet runs on battery, and this is the fiddliest part of the whole build. You’ll want a USB-C power bank rated for at least 3A output (the Pi 5 is hungry) plus a proper HAT-style power management board if you want the tablet to shut down gracefully when the battery dies instead of corrupting its storage. Cheap all-in-one UPS HATs for the Pi handle charging, output, and safe shutdown in one board, and they’re worth every penny.
The rest of the shopping list: a 32GB or 64GB microSD card (or an NVMe SSD with a Pi 5 HAT for much snappier performance), a slim USB keyboard for initial setup, standoffs and screws, and a case. For the case, you can 3D-print one from a design on Printables, laser-cut acrylic panels, or — the classic maker shortcut — sandwich everything between two sheets of acrylic with nylon standoffs. Ventilation matters; the Pi 5 throttles under load without airflow, so leave vents or add a slim fan.
What It Costs
A realistic budget looks like this: Raspberry Pi 5 (8GB) around $80, a 10-inch HDMI capacitive touchscreen around $70–$90, a 20,000mAh USB-C PD power bank around $30–$40, a UPS/power-management HAT around $20–$30, plus $20–$40 for the case, cables, and SD card. All in, you’re looking at roughly $220–$290.
That’s not cheaper than a budget Android tablet, and you should be honest with yourself about that. A $150 Fire HD or a used Samsung tablet will be thinner, lighter, and have better battery life. You build a tablet to learn, to customize, or to make something no commercial product offers — a wall-mounted home dashboard, a kid-proof media player, a portable ham-radio terminal. If you just want a tablet, buy a tablet.
Step-by-Step Assembly
Step 1 — Test everything on the bench first. Before you mount a single screw, plug the Pi into the display via HDMI, connect the touch USB cable, power it from a wall adapter, and boot it up. Confirm the touch input works and the display runs at its native resolution. Catching a dead panel now saves you from disassembling a finished case later.
Step 2 — Flash the operating system. Use the Raspberry Pi Imager (free from raspberrypi.com) to write Raspberry Pi OS to your SD card or SSD. If you’re building a media or kiosk tablet, consider a touch-optimized OS like Android (via LineageOS builds for the Pi) — but Raspberry Pi OS with the Wayland desktop is the path of least resistance for most people.
Step 3 — Wire up power. Connect your UPS HAT to the Pi’s GPIO header and the power bank to the HAT’s input. Configure the HAT’s shutdown threshold so the Pi powers down cleanly at low battery. A hard power cut mid-write will eventually corrupt your SD card, and that’s the number-one cause of “my DIY tablet just stopped booting.”
Step 4 — Mount everything in the case. Start with the display face-down, lay the Pi behind it on standoffs, route the HDMI and USB cables with gentle bends (sharp bends kill ribbon cables), and secure the battery where it won’t press against hot components. Keep the Pi’s Wi-Fi antenna area clear of metal.
Step 5 — Cable management and closing up. Use short cables wherever possible — long cables are the main reason DIY tablets end up thick. Double-check that nothing shorts against the case, then close it up and power on.
Making the Software Feel Like a Tablet
This is where most builds stall. Out of the box, Raspberry Pi OS is a desktop OS that happens to accept touch. Install Onboard or Squeekboard for an on-screen keyboard, enable screen rotation in the display settings, and turn on the experimental touch mode in Chromium for proper touch scrolling. Set the Pi to boot straight to the desktop and auto-login so it behaves like an appliance, not a computer.
If this sounds like a lot of fiddling, it is — budget an evening for it. But once it’s dialed in, the result genuinely feels like a tablet: tap an icon, it opens; swipe, it scrolls. For a single-purpose device like a kitchen recipe display or a Blender render monitor, you can go further and set a single app to launch full-screen at boot.
What a DIY Tablet Can’t Do
Let’s be blunt about the trade-offs. Battery life will be 3–5 hours, not 10. The whole thing will be 20–25mm thick. There’s no GPS or cellular modem (unless you add a 4G HAT), and the speakers will be whatever tiny USB speaker you cram in there. Fine for browsing and video — not for editing 4K footage.
Heat is the other real constraint — a Pi 5 in a sealed case will throttle, so include ventilation slots or a slim fan in your case design.
Is It Worth Building?
You’ll learn more about power management, display interfaces, and Linux in one weekend than in a month of tutorials. Practically, it’s worth it when you need something specific: a USB-bootable portable workstation, a shop-floor terminal, or a gift for someone who appreciates handmade tech.
If your goal is learning hardware, this project is a perfect stepping stone toward bigger builds — custom handhelds, cyberdecks, and homebrew laptops all reuse the same skills. Just go in with the right mindset: you’re not saving money, you’re buying an education that happens to browse the web.
FAQs
Can I build a tablet with an old laptop motherboard instead?
You can, and some builders do — it’s called a “slabtop.” It’s harder, though: laptop boards expect specific batteries and displays, documentation is scarce, and power management gets messy. The Raspberry Pi route has vastly better community support for a first build.
Which Raspberry Pi is best for a DIY tablet?
The Raspberry Pi 5 with 8GB of RAM is the best choice today. The Pi 4 works and runs cooler, but the Pi 5’s performance jump makes web browsing and video noticeably smoother. Avoid the Pi Zero 2 W — it’s too slow for a general-purpose tablet.
How long does the battery last on a DIY tablet?
With a 20,000mAh power bank and a Pi 5 driving a 10-inch display, expect 3–5 hours of active use. Dimming the screen — the biggest power draw — stretches that considerably. Always use a power bank with USB-C Power Delivery rated for at least 15W.
Can I install Android on my DIY tablet?
Yes, via community LineageOS builds for the Raspberry Pi, with the Play Store and a genuine touch-first interface — though camera and video support can be patchy depending on the build. For a first project, Raspberry Pi OS is more reliable.
What’s the hardest part of building a tablet computer?
Power management, by a wide margin. Getting the battery, charging, and graceful shutdown working reliably takes more debugging than everything else combined. Use a dedicated UPS HAT — it solves most of the headaches in one board.