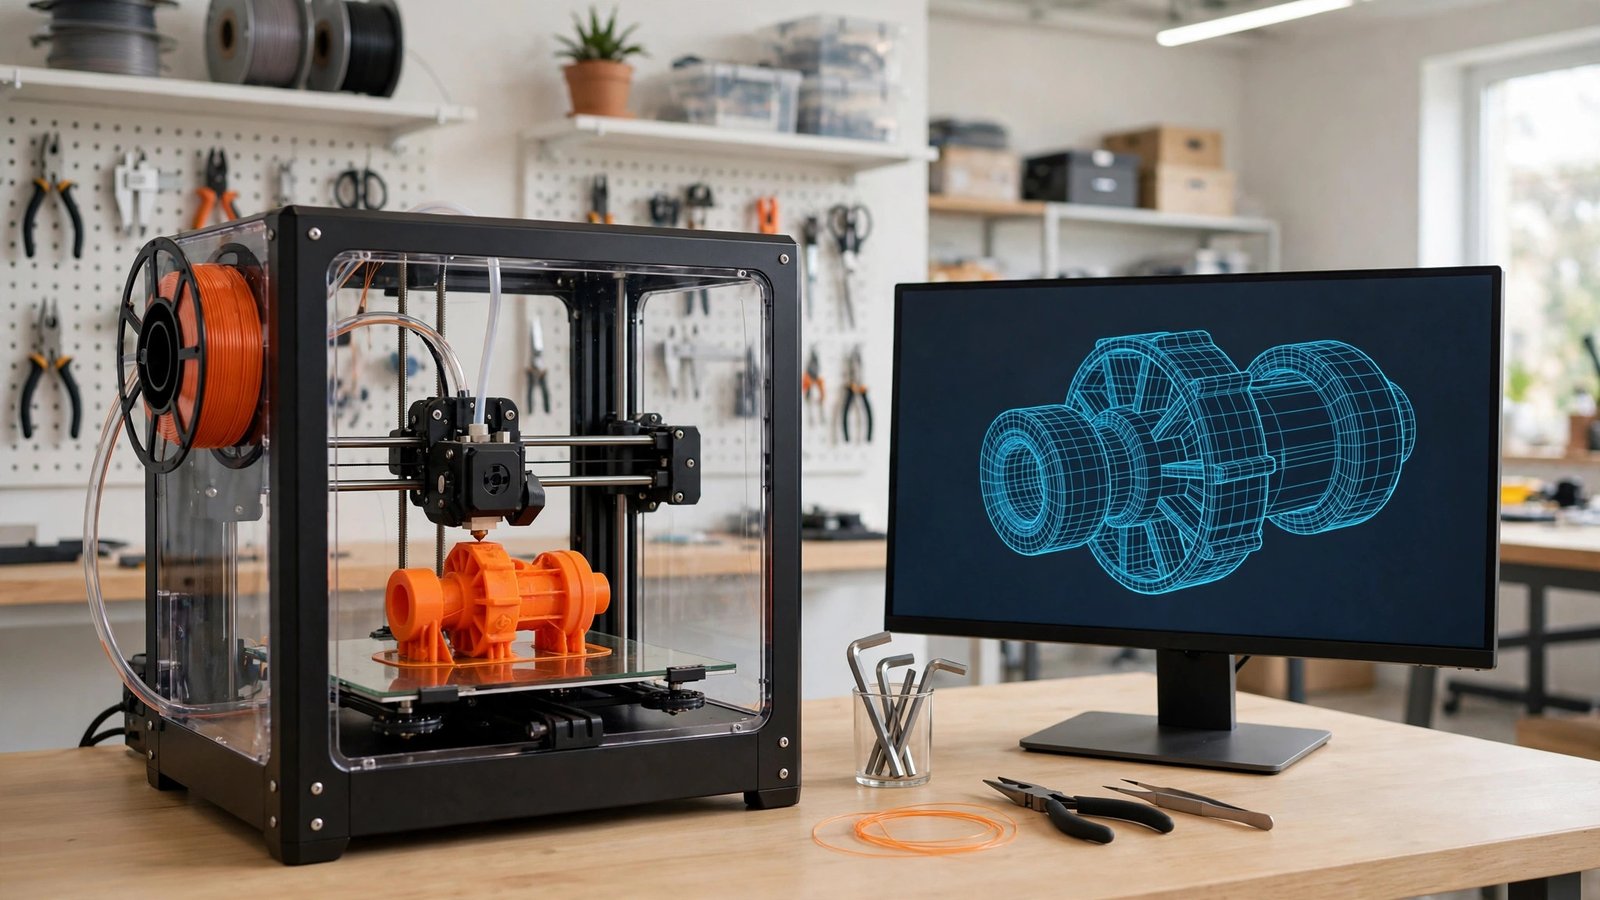
To create 3D models for printing, download a free CAD program — Tinkercad if you’re a complete beginner, Fusion 360 (free for personal use) when you’re ready for more power — learn to build shapes by sketching 2D profiles and extruding them into 3D, export your model as an STL file, and run it through a slicer like Cura to generate the printer instructions. Your first printable model is genuinely an afternoon’s work; your first good model takes a few weeks of practice.
Start Here: Pick Your Modeling Software
The software question paralyzes more beginners than any other step, so let’s settle it fast. If you’ve never done any 3D work, start with Tinkercad (free, runs in your browser at tinkercad.com). It’s almost insultingly simple — you drag boxes, cylinders, and spheres onto a workspace and combine them — but people design genuinely useful replacement parts, organizers, and toys with it. You can model and export your first printable object within an hour.
When Tinkercad starts feeling limiting (usually after a few weeks), graduate to Fusion 360. Its free personal-use license covers hobbyists, and it teaches you parametric modeling — the professional workflow where you define dimensions as numbers you can change later. Other solid free options: FreeCAD (fully open-source, steeper learning curve) and Blender (unbeatable for organic, sculpted shapes like figurines, though it’s a mesh modeler rather than a CAD tool — see our Blender tips if you go that route).
Don’t pay for software as a beginner. Every paid CAD package has a free tier or trial, and you won’t outgrow the free tools for months.
The Core Skill: Thinking in 2D, Building in 3D
Nearly all CAD modeling boils down to one idea: draw a flat shape, then give it depth. That phone stand you want to make? It’s a rectangle sketch extruded 5mm thick, with a slot cut out of it. A vase? A profile curve revolved around an axis. Once this clicks — and it clicks faster than you’d expect — you can model a surprising range of functional objects.
The workflow for a typical beginner part looks like this:
- Sketch the outline of your part on a flat plane, with real dimensions (in millimeters — the 3D printing world runs on metric).
- Extrude the sketch upward to give it thickness.
- Modify with cutouts (holes, slots), fillets (rounded edges), and chamfers.
- Check that everything is one solid, watertight body with no floating pieces.
That last step matters more than beginners realize. Your printer can only print solid geometry — if your model has gaps, zero-thickness walls, or disconnected floating bits, the slicer will either refuse it or print garbage. Most CAD tools have a mesh analysis or “inspect” function; run it before every export.
Design Rules That Save Failed Prints
Here’s the unglamorous truth: half of “modeling for 3D printing” is really “designing so the printer can actually make it.” A few rules prevent the vast majority of beginner failures:
- Mind your overhangs. FDM printers can’t print plastic into thin air. Any surface angled more than about 45° from vertical needs support material or a redesign. When possible, design parts that print without supports — they’re faster, cleaner, and stronger.
- Respect minimum wall thickness. Walls thinner than about 0.8mm (two nozzle widths on a standard 0.4mm nozzle) are fragile or won’t print at all. When in doubt, go thicker.
- Orient for strength. Printed parts are weakest between layers — like wood grain, they split along the layer lines. Orient your model so the main stresses run across layers, not along them.
- Add tolerances for fitting parts. A 10mm peg will not fit in a 10mm hole on an FDM printer. Leave 0.2–0.3mm of clearance on each side for parts that need to fit together, and test-fit with a small calibration print before committing to a 6-hour job.
- Flat bottoms print best. Give your model a flat face to sit on the build plate. Round-bottomed objects need supports and often come out ugly.
From Model to Printer: Export and Slice
Once your model is done, export it as an STL file — the universal format every printer understands. (The newer 3MF format is technically superior and worth using if your slicer supports it, but STL remains the safe default.)
Next, open the STL in a slicer — the software that converts your model into layer-by-layer instructions (G-code) for the printer. UltiMaker Cura (free, at ultimaker.com) is the standard starting point, and most printer brands ship their own tuned slicer too. In the slicer you’ll set layer height (0.2mm is the everyday default), infill percentage (15–20% is plenty for most parts), and whether supports are needed. Then hit slice, save the file to an SD card or send it to the printer over Wi-Fi, and you’re off. If your printer refuses to read the card, it usually needs reformatting — our guide on formatting a USB drive covers the same FAT32 process SD cards require.
Your first print should be small and diagnostic: a calibration cube or a tolerance test, not the ambitious multi-part project you’ve been dreaming about. Dial in your printer’s settings on 20-minute prints before you commit to overnight jobs.
Where to Learn: The Fastest Path Up
YouTube is the unofficial university of 3D modeling — search for beginner series on whichever tool you chose and follow along by modeling the same parts. But the single fastest way to improve is remixing: download models from Printables or Thingiverse, import them into your CAD tool, and modify them. Adding a mounting hole to someone else’s bracket teaches you more in an evening than a week of abstract tutorials.
Set yourself a progression: week one, simple household fixes (a cable clip, a replacement knob). Month one, multi-part assemblies with tolerances. Month three, designing from scratch for a real problem. By then you’ll look back at your first wobbly cube the way a writer looks at their first short story — fondly, and from a great distance.
FAQs
What’s the easiest software for creating 3D models for printing?
Tinkercad, without question. It’s free, runs in a web browser with no installation, and a total beginner can design and export a printable model in under an hour. Move to Fusion 360 when you need precise dimensions and more complex geometry.
What file format do I need for 3D printing?
STL is the universal standard — every slicer and printer accepts it. 3MF is a newer format that stores extra information like colors and print settings, and it’s worth adopting if your toolchain supports it. Your CAD software exports both.
Do I need to know how to draw to make 3D models?
Not at all. CAD modeling is closer to engineering than art: you’re defining dimensions, extrusions, and cutouts with numbers, not sketching freehand. If you can use a ruler and follow a recipe, you can model functional parts. Artistic sculpting (characters, figurines) is a separate skill you’d learn in Blender or ZBrush.
How long does it take to learn 3D modeling for printing?
Expect your first successful print within a day, genuinely useful custom parts within 2–4 weeks of casual practice, and confident from-scratch design within a few months. The learning curve is front-loaded: the basics click quickly, and refinement takes longer.
Can I 3D print something I designed on my phone?
Yes, for simple models. Apps like Tinkercad’s mobile web version and various tablet CAD apps handle basic modeling, and you can slice on some mobile apps too. But for anything beyond simple shapes, a desktop or laptop with a mouse is dramatically more productive — precision work demands screen space.